
Prototyping⌗
For our Worlds robot, we wanted to move back to a flywheel design after running into some issues with our slingshot. We started by looking at what some other teams had done and decided to base our designs on that.
We started by building on the old copy of our chassis we still had laying around, so we could know if this was going to work before we completely dismantled our robot from States.
After a few hours, I successfully built the needed structure for testing.
We wanted a “snail”-style robot, where the disks traveled around in an arc to end up positioned high up at the front of the robot. The track for this needed to be 2 long strips of Delrin, but for testing purposes I just used some scraps from previous builds. Here’s one of the early tests we did. The CAD for our design, as well as one of the robots we were referencing, can be seen in the background.
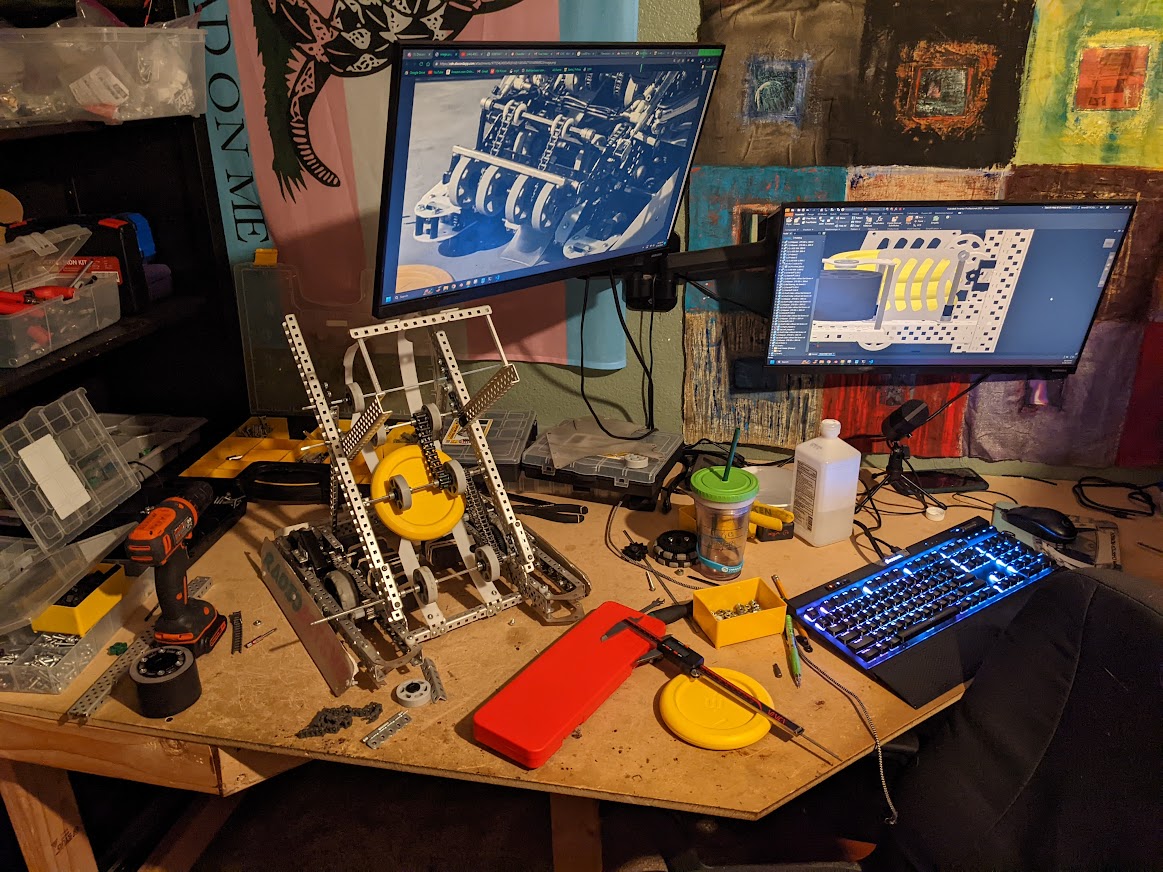
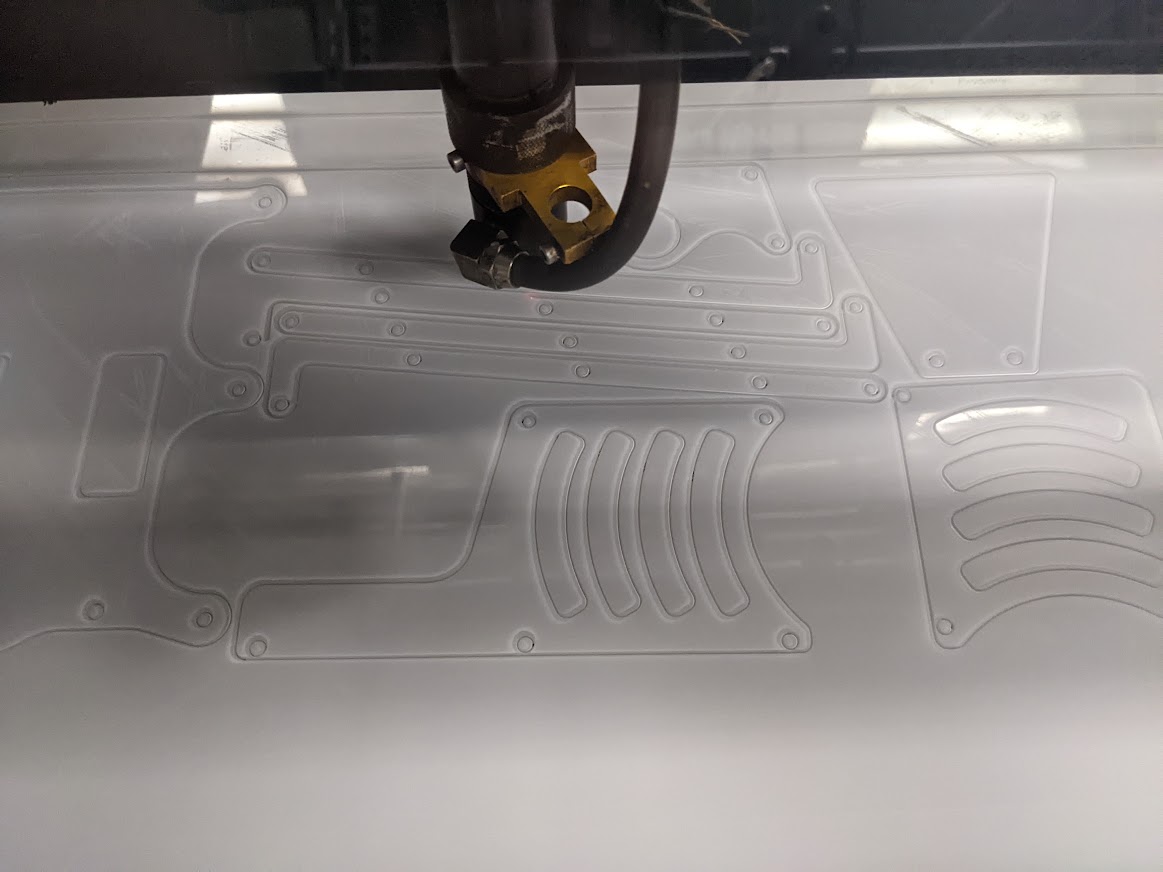
The next thing we needed to build was the flywheel assembly. This could be built and tested without deconstructing our old robot, so it was one of the first things we did. Here we are visiting a local university to laser cut some Delrin for this.
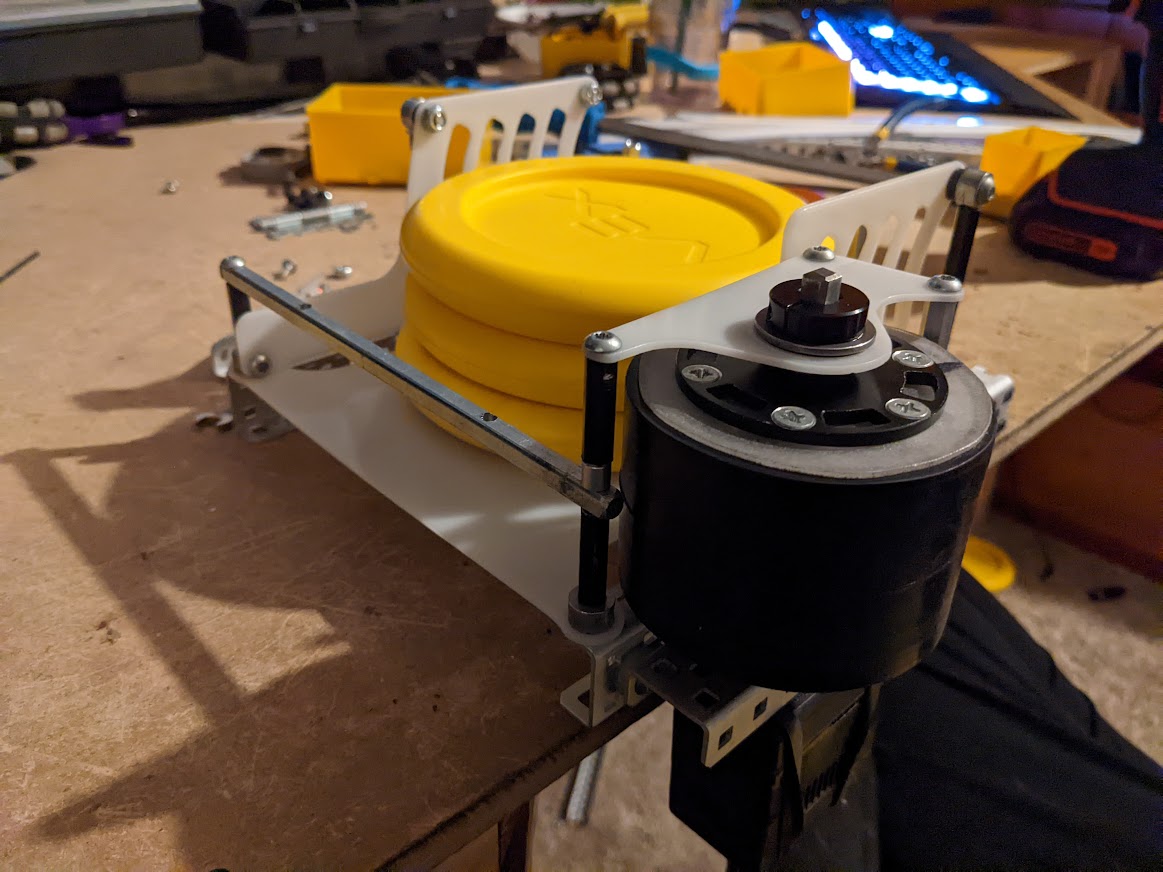
Fully constructed, the flywheel assembly looked like this.
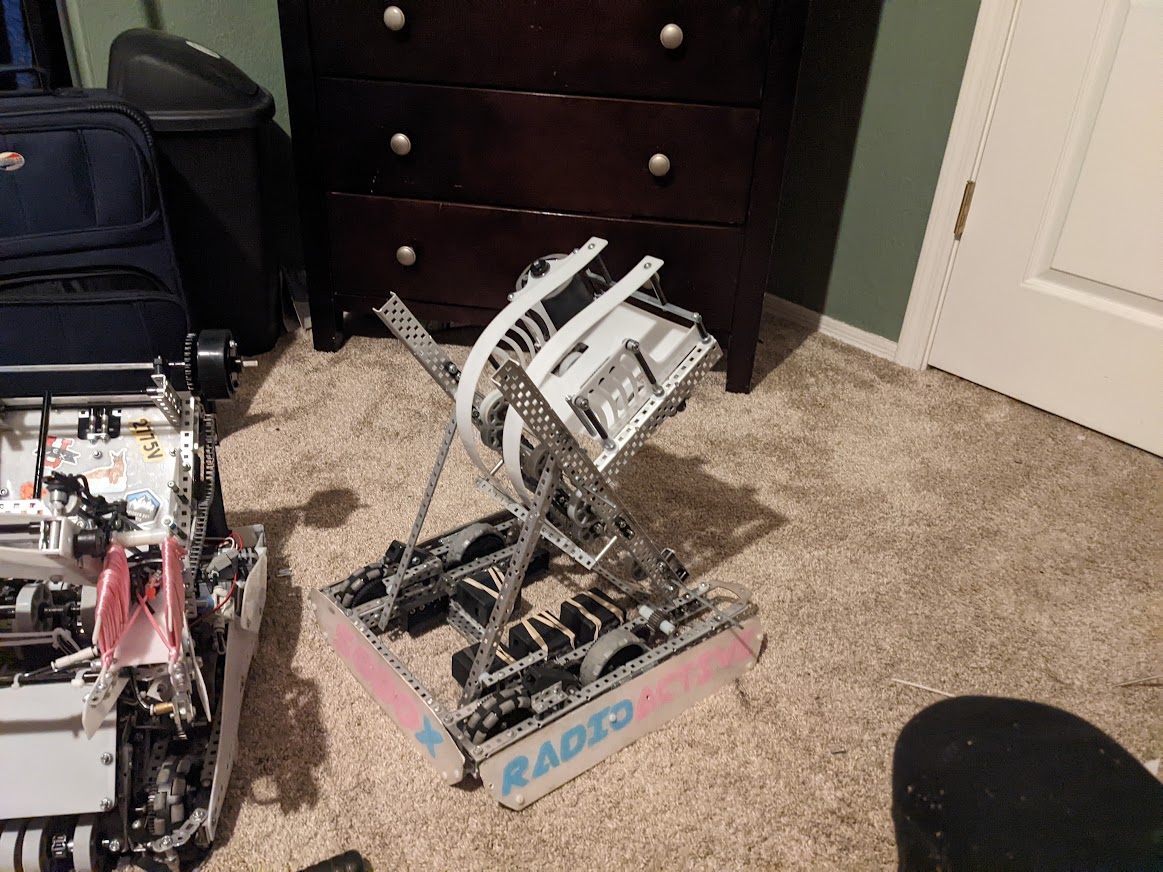
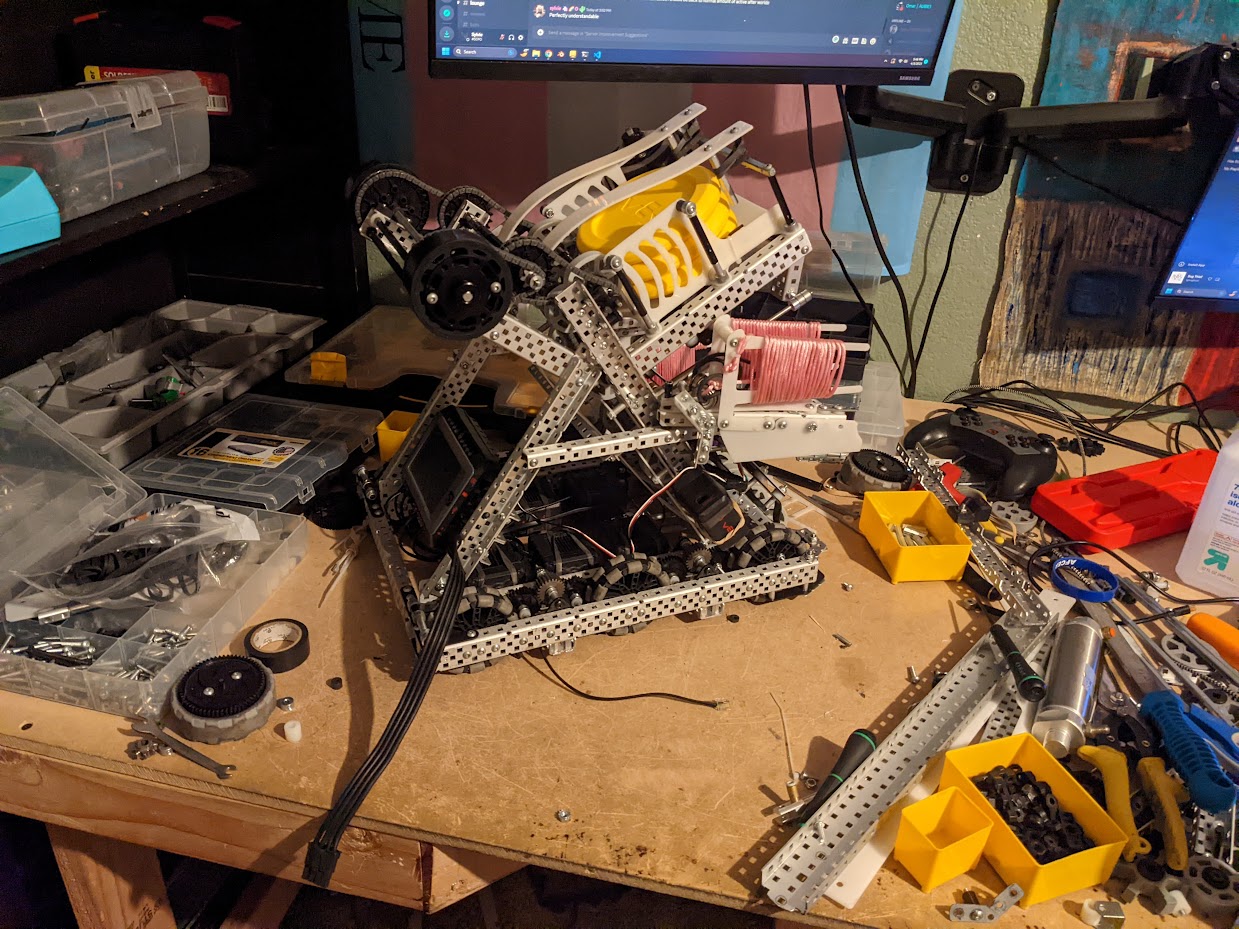
After having gotten that fully assembled and put on the prototype bot, it looked like this. We also cut out the final snail track as well, as the scrap I was using for testing was too flimsy to work.
Final Construction⌗
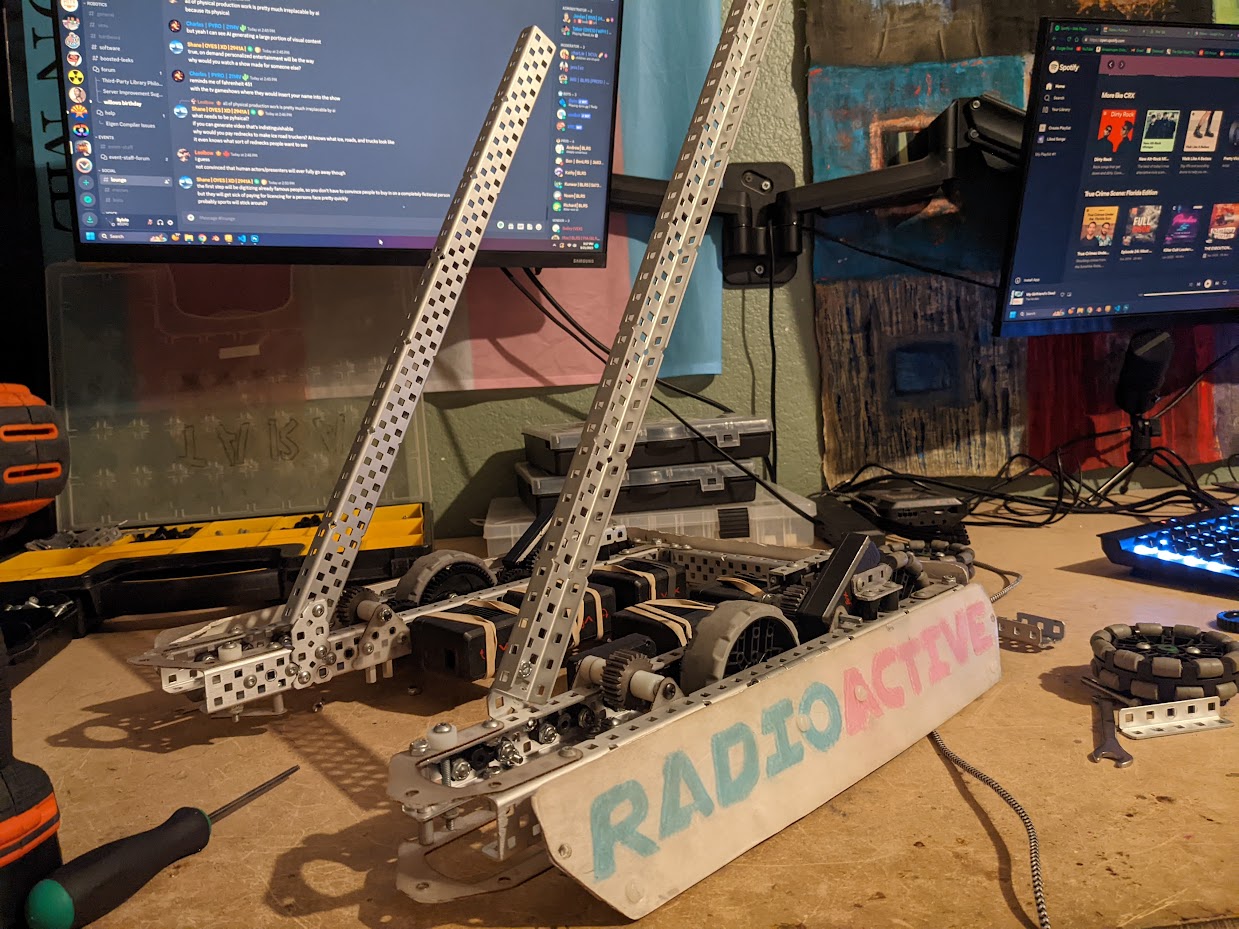
At this point, things worked well enough that we began to transfer the frame from the old version of the chassis to the new one to finish building it. If we got too much farther, it would have been too impractical to disassemble it to move.

We also transferred over the bottom of the intake, so we could save the fancy LED intake I built for our States bot.
Here’s the first test we did with the full intake track on the new robot.
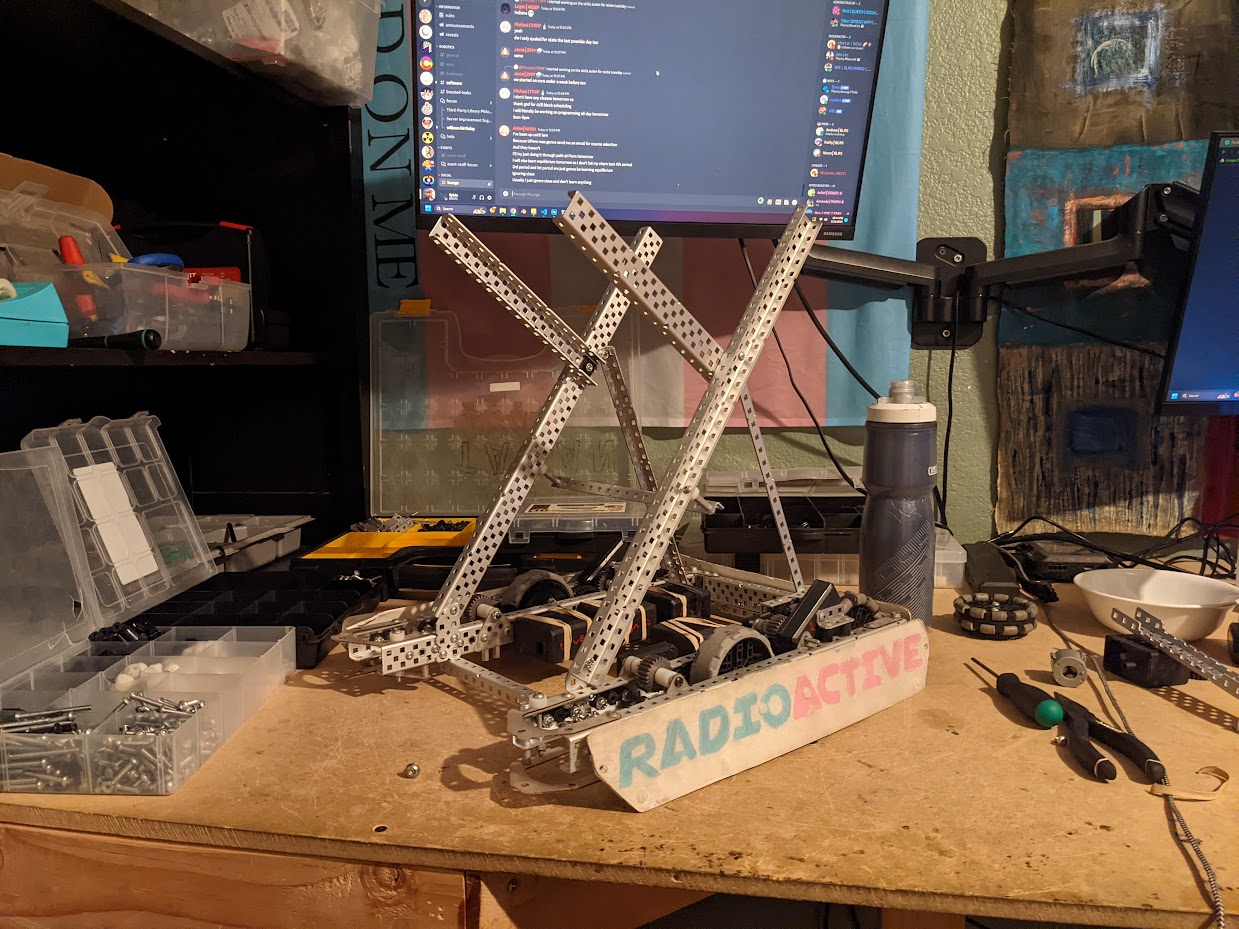
The next thing we had to do was transfer over our roller mechanism and endgame launchers. Having done the CAD ahead of time made this very easy to move over.
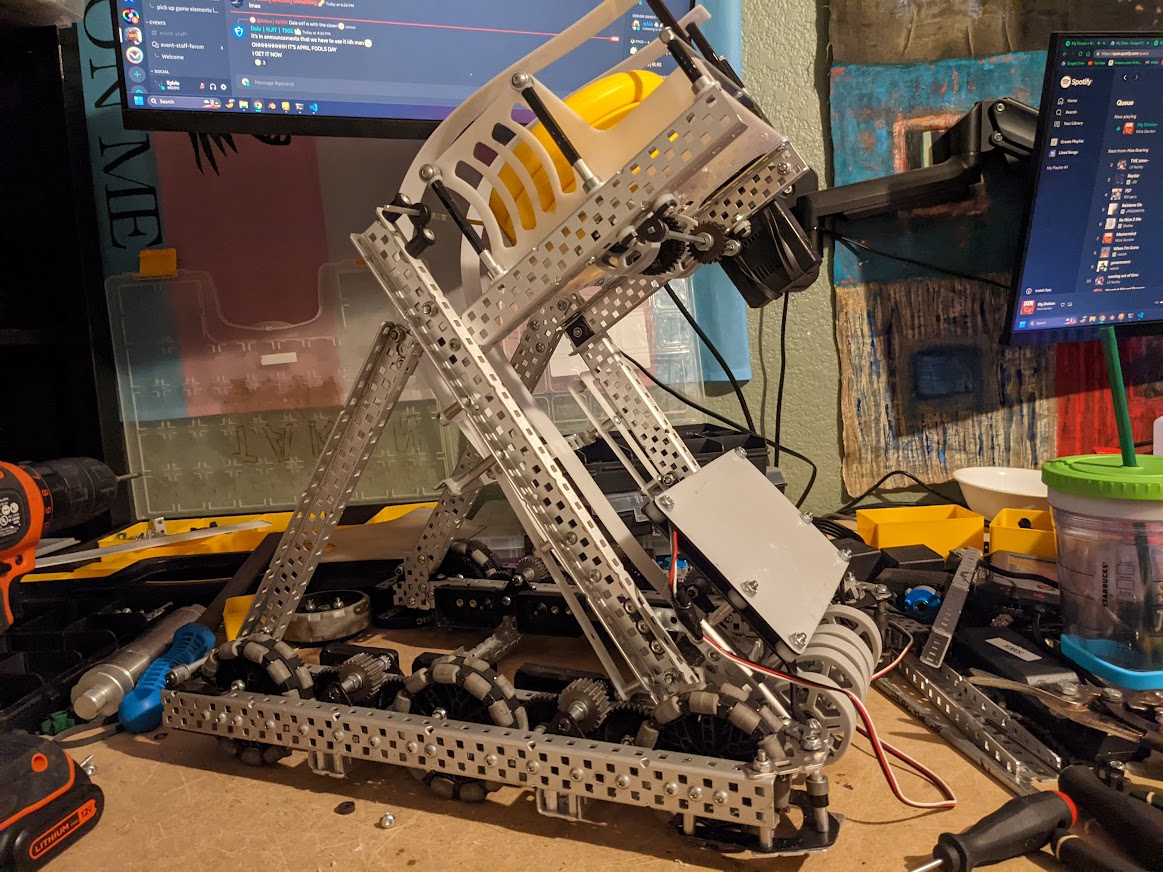
After doing this, the robot was close to functionally complete, so we gave it a little test and it performed amazingly.
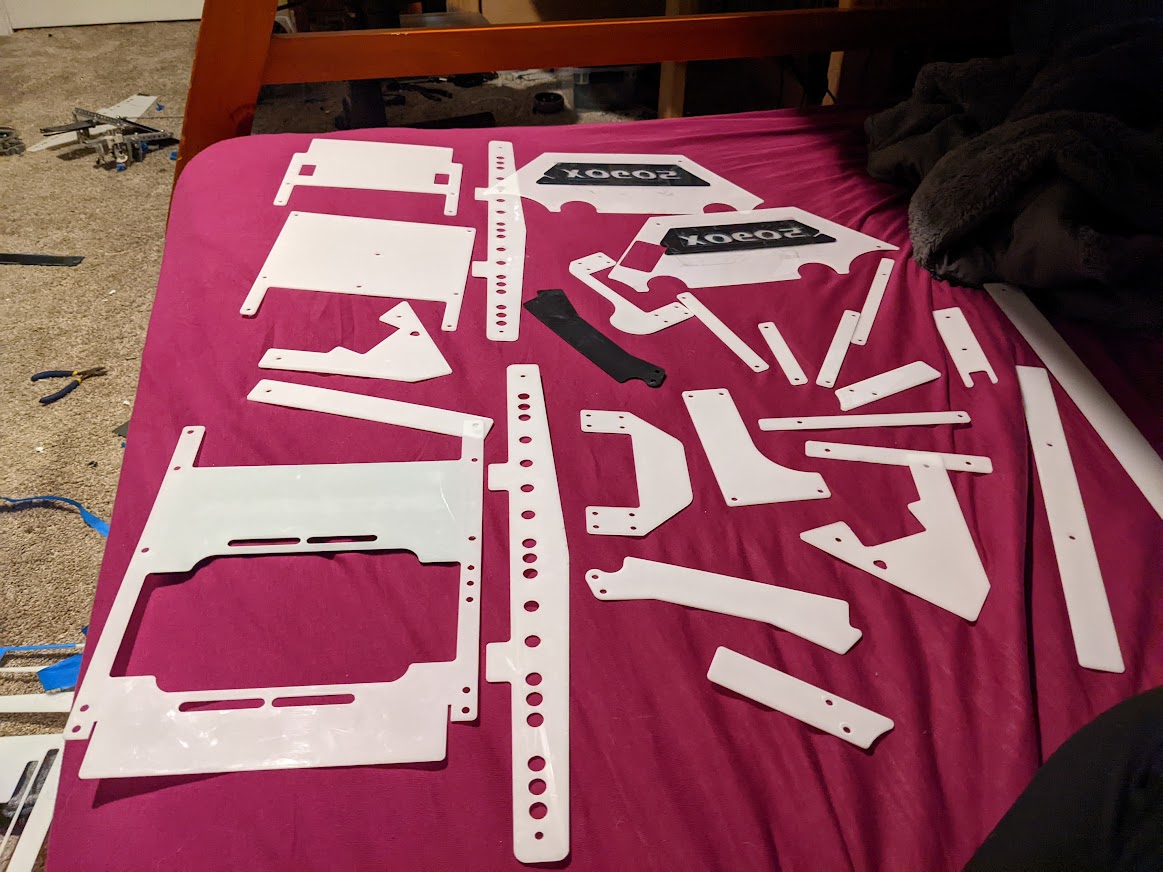
But of course, it wouldn’t be one of my robots if I stopped when it was functionally done. I just had to go overboard with the decorations too. We visited the laser cutter again to make the needed parts. Here’s all of the decoration Delrin laid out on my bed. It includes cover plates for lots of things and also stencils for the LEDs to go behind.
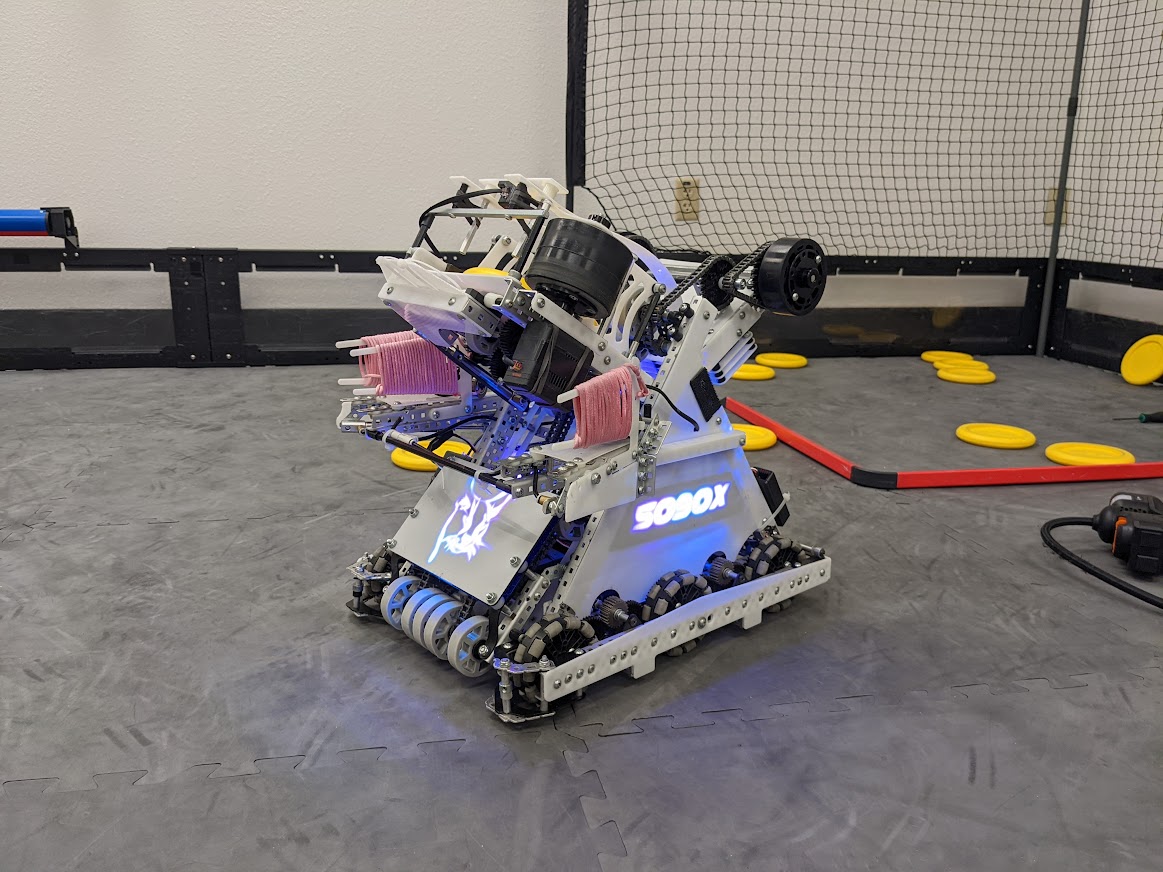
Here are all the lights turned on for the first time. Programming them was trivial, making use of Sylib.
Programming and Tuning⌗

At this point, it was just a matter of testing and tuning. We met at Microchip to test the robot out on our field, but then decided it would be best to bring the field back to my house so I could practice driving and work on autons.
After getting home, I realized that I could add a “zapper” mechanism, that allowed the robot to intake multiple disks in stacks at once.
From here the robot was almost completely done, and it was just a matter of programming auton routines and practicing. Here’s our 8-disk, right-side auton run. We also had 8-disk routes for the left side, and also full win point.
VEX Worlds⌗
After this, it was officially time to fly to Dallas for worlds.
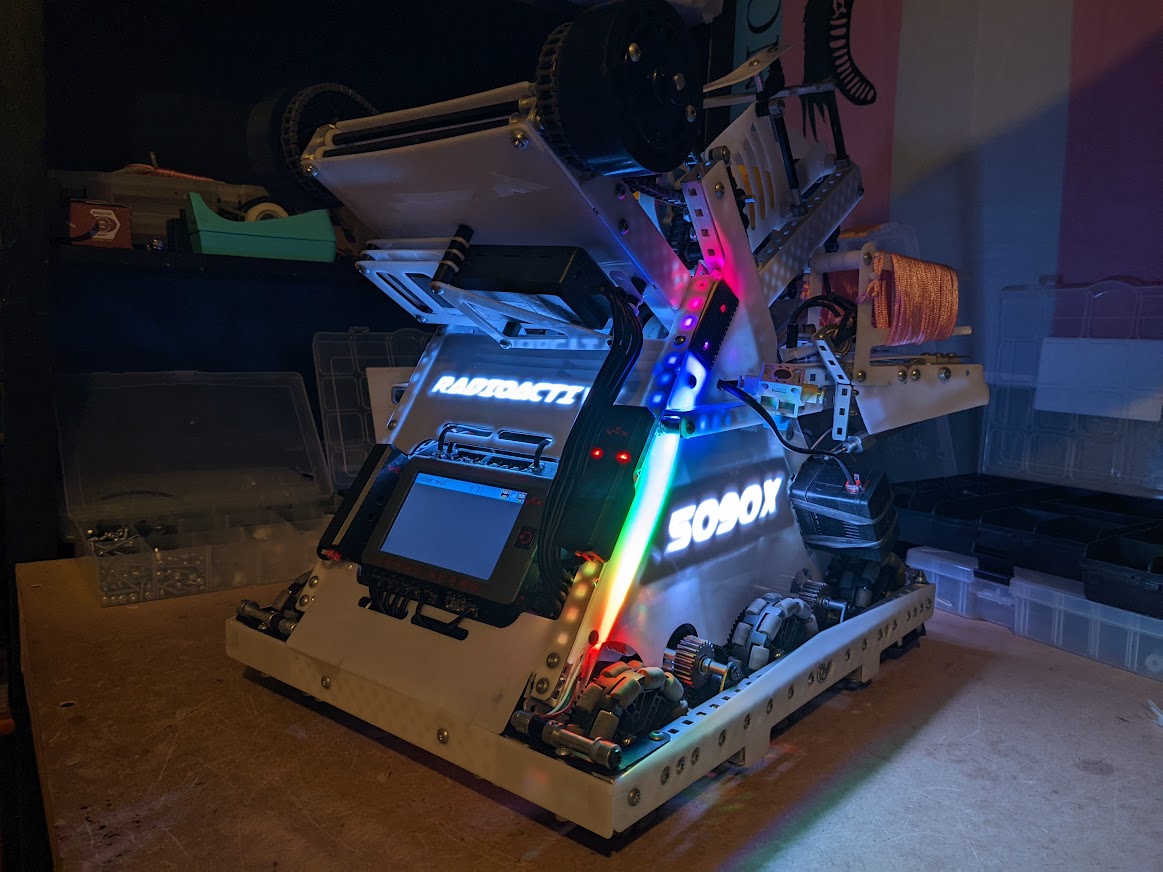
In competition, we did very very well, our record was 8-2. It would have been 9-1, but I made a driving mistake in one match and got disqualified from that match.
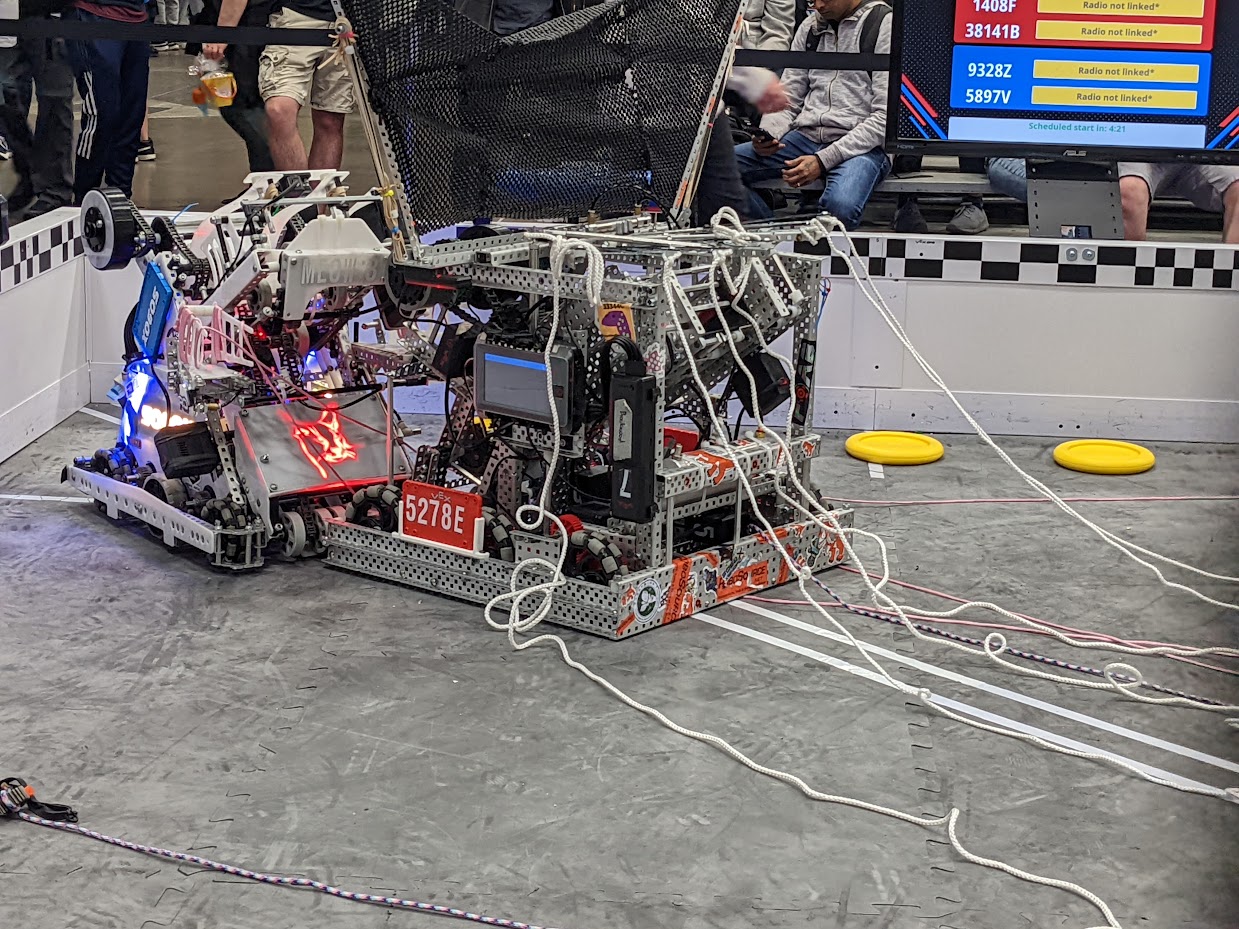
We ended up the 7th seed alliance captain and made it all the way to division finals, where we lost to another amazing team, 1408F.
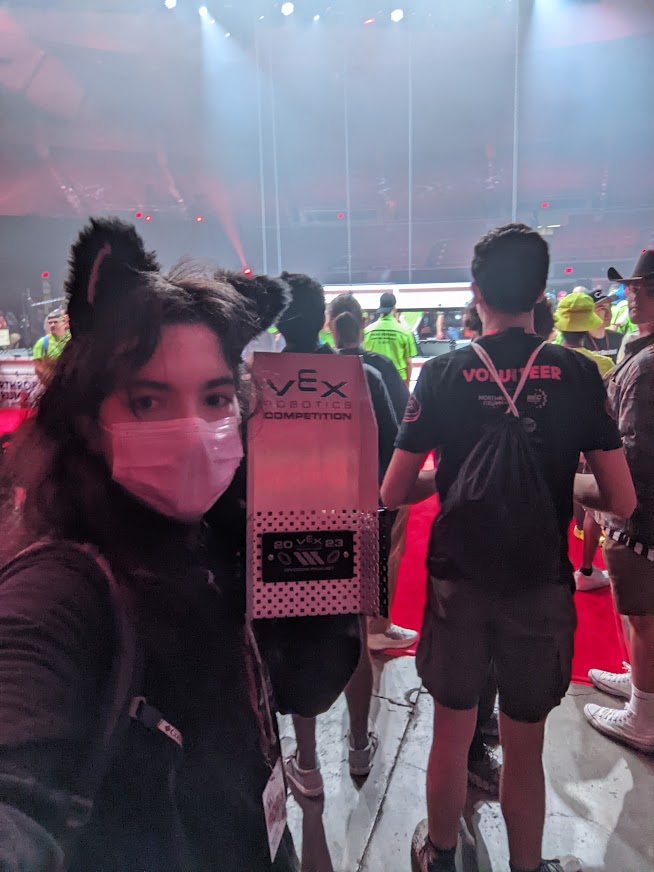
Here I am on the Dome floor with the finalist trophy.
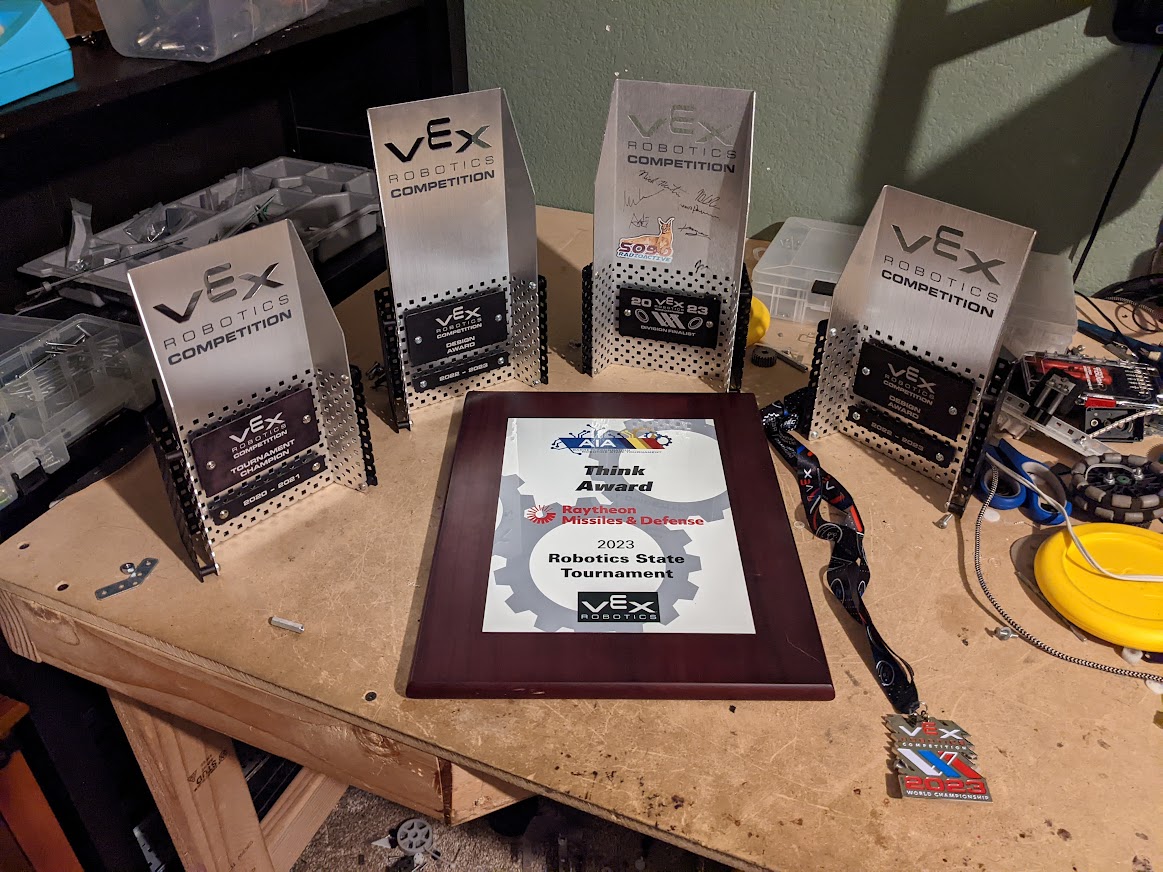
Here are all of our season awards.
After making it home, I also filmed a full reveal video for the robot, which can be seen on my YouTube page here.